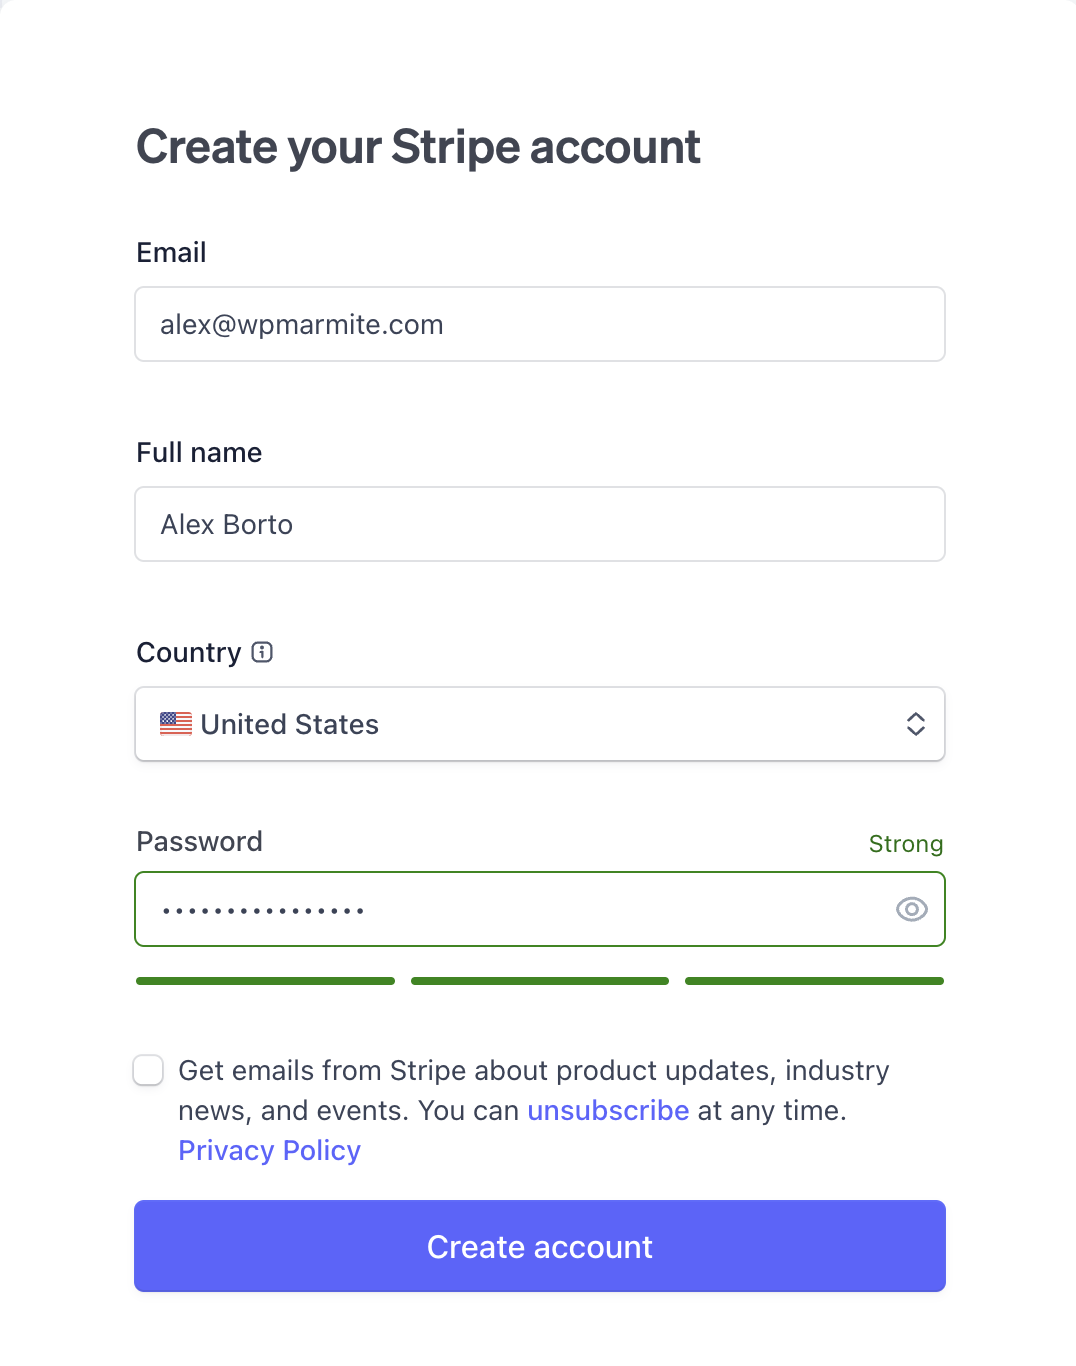
If you don’t have a Stripe account yet, go to the official website to create one:
Click on Start now, and fill in the required information.

Stripe will send you an email to verify your email address. Click on the link inside.
Once on your Stripe dashboard, click on the Start button in the Tell us about your business section and let Stripe guide you.
Step 1: Verify your business
Fill in the information requested by Stripe :
- Business type
- Business details
- Business representative
- Business owners
- Public details (add public information for your customers: bank statement descriptor, support address, phone number).

Note: Click on the various fields to get details on the information to be entered.
Step 2: Add your bank account
To transfer funds from Stripe to your bank account, add your bank account at this point.

Step 3: Secure your account
To protect your account, Stripe requires you to use two-step authentication. This means you’ll need to use your phone or an authentication app, in addition to your password, to log in.
Activate one or more of the two-step authentication options.

Step 4: Add extras (optional)
Select a product category to enable Stripe to automatically calculate the exact tax amounts to be collected.
You can skip this step for the moment if you wish.

To find out how to configure VAT in Stripe, visit this page.
Step 5: Review and finish
Check the information you have entered, and click on the Agree and submit button at the bottom of the page.
Congratulations, your Stripe account has been created!
